Showing posts with label craft. Show all posts

Tuesday, March 4, 2014

the cutest fabric...

Happy Tuesday everyone!!!!

I had a pretty quiet morning so far... I'm glad I had the time to sew. I used the last little piece of one the cutest fabric I've ever bought. Disney Princesses! I found it online, it came all the way from Japan! I wish I could buy more... I could only find a small sample that I cut in pieces to be able to create more with it.
I don't know if you had a chance to see the newest pouches in my shop... they are one of a kind!.. unless I find more of that gorgeous fabric!!.... he he... :)
 
What do you think??


Which one is your favorite Disney Princess? I can't decide!!! Even if I know I'm never tired to watch Sleeping Beauty and Cinderella.......

Hugs to you..
and may all your dreams come true!!!!

xoxo,

Thursday, February 27, 2014

How to crochet a heart with HappyBerry crochet..

Hello friends!!!
it's still February.. the month of Love ad hearts.. I've been wanting to write a post on crocheted hearts and I'm still on time!!... even if I think anytime is always the right time to speak about hearts... :) 
I recently found a beautiful website about knitting and crochet.. they have a BLOG, a SHOP and a you-tube channel! They are called HAPPYBERRY. Cute, eh? You need to check them out... they even have adorable free patterns
I'll share with you the you-tube video on how to crochet a heart. I've tried to crochet hearts before in different ways...but I think this is my favorite result! Also, the girl who teaches the technique is really sweet... not boring at all.. and has a cute British accent!! She sounds like Keira Knightly or Emma Thompson {I don't know if you a fan of English actresses like me...}...
So, what are you waiting for?? If you know how to crochet..you will learn how to make a cute heart... and if you don't know how to crochet... you will just learn!! :)

These are just 3 of my little hearts. I'm thinking to crochet a couple more and make a bunting banner.. maybe a cake-topper.. I love the yellow yarn I used.


And now... the you-tube video. Thank you Crochet Berry for allowing me to show and share your beautiful work!!! :)


Hugs and kisses to you all!! until next time!!!

xoxo,


Wednesday, November 21, 2012

Envelope~Bookmark DIY

Tomorrow is Thanksgiving Day!! Are you already cooking? I just found out I'm gonna have a few guests for dinner.. and the bad news is that my turkey is still almost completely frozen!!! I really hope it's ready tomorrow.. but why worry about that?? While the turkey sloooowly defrosts I decided to get crafty and make a few cute bookmarks with my kids. I found this easy tutorial on Pinterest, and I have recreated it for you. ;)
All you need is Envelopes, a pencil, colored paper, scissor and glue!


Draw a ♥ in the bottom corner of an envelope.


Cut it out.

Draw and decorate a ♥ on a piece of colored paper 
{you can also use some cute fabric or patterned paper}.

Cut the colored ♥ out and glue it on the envelope/heart/corner.. et voila'!! 
The envelope fits perfectly on the book page. Now you have a super cute bookmark!!
Super fun to make with the kids!!

xoxo,


Wednesday, August 22, 2012

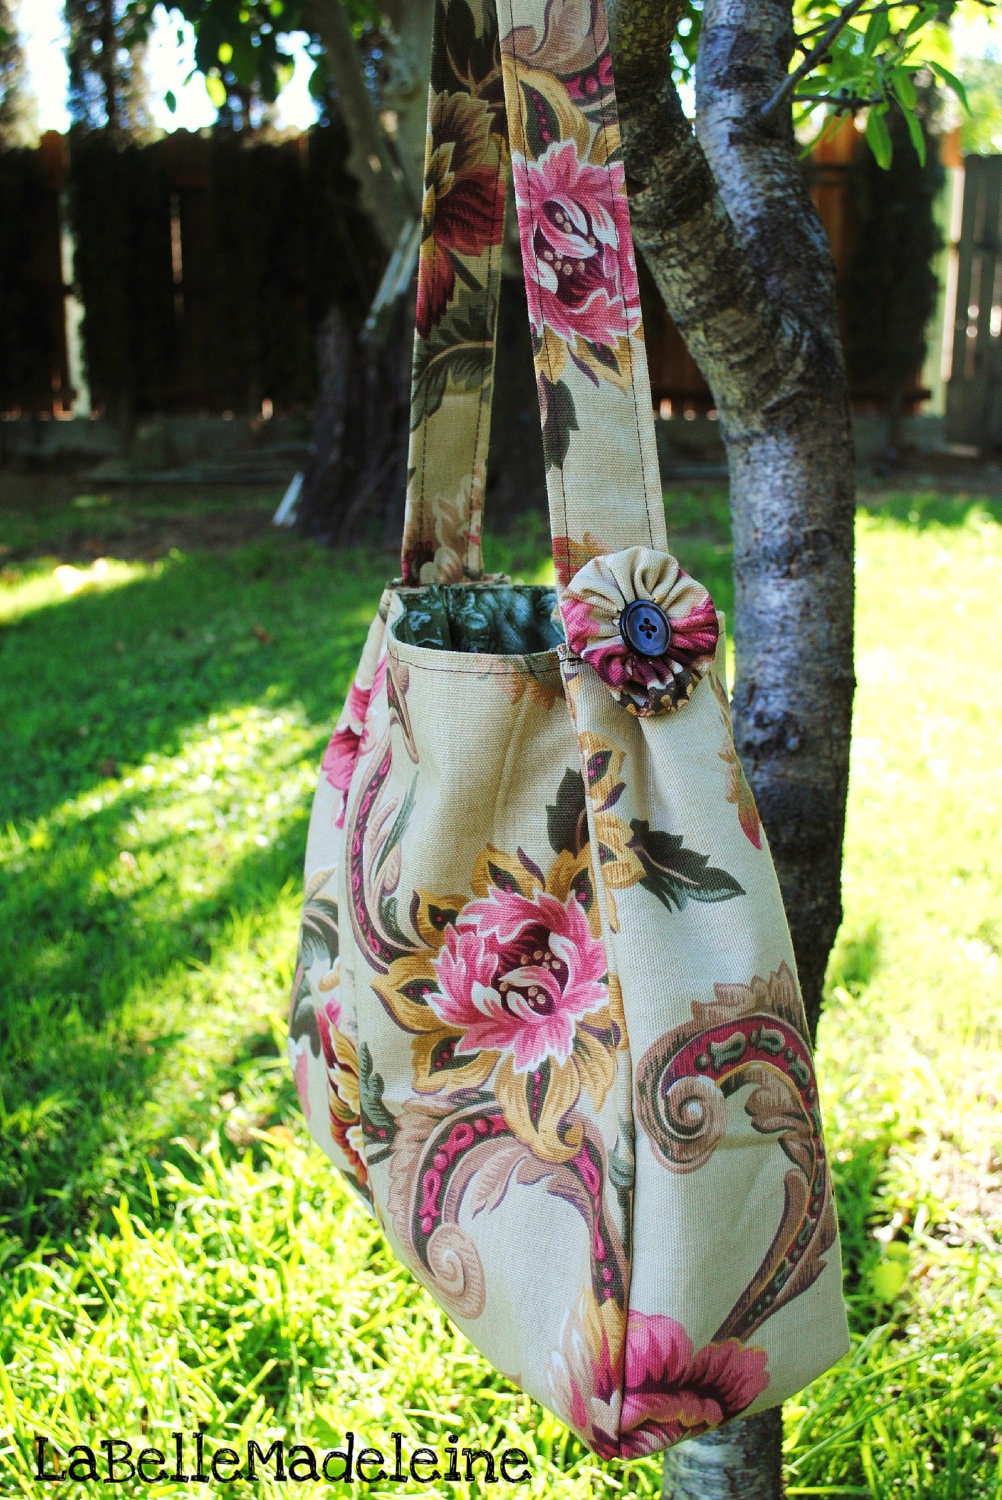
Shabby Chic Market Bag


What a beautiful day!!! 
My children just came back from their first day of school and they are so happy and full of enthusiasm! I spent the whole morning by myself with my 3 year old son {SO disappointed to have "nobody to play with"..}. Last year we home-schooled them.. I don't know how we did it! It has been a good experience in many ways, but I see their need to socialize and be with other children. Just look at them right now!! :)

Yesterday I spent the whole afternoon finishing to sew this Market Bag for my Etsy Shop. I designed it.. completely made it up.. and I think the result is not too bad...

What do you think?


Talk to you soon!!

♥,


Friday, May 25, 2012

aaahhh... Food!!

Food... I could never hide my love for food... I love to cook and love to eat! :) But before showing you the delicious dinner I prepared for my family tonight, I want to introduce to you {for those who don't know her} a great polimer clay artist: Valentina from Minibonbons on Etsy. She specializes in miniature food {mostly Italian.. he he}. I admire her creativity and the precision she uses in making her little tiny creations.. so perfect and beautiful!! See for yourselves!! I'll share with you some of my favorite :


French Baguette earrings

Blueberry & Lemon Cake and Cookies

 Sicilian Cassata

Aren't they adorable?? I'm a big fan of Valentina!! I hope you all go visit her shop.. there's much more to see! ♥

And now I'll show you what I ate tonight.. La Quiche Lorraine!!  {I think Valentina should make a mini quiche!!}.. here's what is left of mine.. even the children loved it!


It was very easy to make, I want to share the recipe with you: Enjoy!!!

Quiche Lorraine

Crust:
1¼ cups all-purpose flour
½ teaspoon salt
6 tablespoons unsalted butter, cold, cut into small pieces
3 tablespoons vegetable shortening, cold, cut into small pieces
3 to 4 tablespoons ice water
Filling:
4 ounces thick-sliced bacon, cooked and crumbled (I used Italian pancetta)
3 eggs
1½ cups heavy cream
4 ounces Swiss cheese, shredded (about 1 cup shredded)
Salt and pepper

1. Make the Crust: Whisk together the flour and salt in a medium bowl. Cut the butter and the shortening into the flour mixture with a pastry blender until the mixture resembles coarse crumbs. Using a rubber spatula, stir in just enough water to bind. Gather into a ball, wrap in plastic wrap, and refrigerate at least 20 minutes.

2. Preheat the oven to 375 degrees F.

3. On a lightly floured surface, roll out the dough into a 12-inch circle, about 1/8-inch thick. Carefully transfer the dough to a 9-inch tart pan. Gently fit the dough into the tart pan and trim any excess off the edge by rolling the rolling pin over top of the pan. Prick the bottom all over with a fork. Line with parchment paper and fill the tart pan with pie weights. Bake for 12 minutes. Remove the parchment paper and pie weights and continue baking until the crust is golden brown, 5 to 10 more minutes.

4. Make the Filling: While the crust bakes prepare the filling. In a medium bowl, whisk together the eggs, heavy cream, eggs, nutmeg, salt, and pepper. When the crust comes out of the oven, immediately sprinkle the bacon over the bottom crust, and then slowly pour the egg mixture over the bacon to fill the crust. Bake until the quiche is puffed and brown, about 30 minutes. Serve warm or at room temperature. Cover leftovers and store in the refrigerator.


{recipe taken from The Brown Eyed Baker newsletter: www.browneyedbaker.com}

Thursday, May 3, 2012

The Crochet Family

These past few weeks me and my husband have been working a lot for our shop. We made some new purses..which I like a lot! I've also had fun posing and taking pictures!! We enjoy working together, it's so much fun. Now even the kids want to learn how to crochet... we will probably become a crochet factory!!! =)
Here's the pictures of our last creations:


Thursday, February 9, 2012

my Cherry Cupcake ♥

Deep in my thoughts.. in my mind that never stops thinking, creating, imagining something new to make.. a little Ladybug found a deliciously pink cupcake. It was love at first sight!! She crawled on top of the icing and ate the cherry, which became her clever disguise.. trying not to be noticed. :)
This is the story behind my new cozy: the CHERRY CUPCAKE LADYBUG. Bring it to Starbucks and it will make everybody turn their heads because of her cuteness!! ♥ I love the cotton I used for this cozy, it's incredibly soft..and the color is just adorable. I cannot resist pink!! I bought that yarn thinking that I would have made something cute out of it... well, I really hope you like it too!!!