Showing posts with label food. Show all posts

Wednesday, April 19, 2017

Madeleines Cookie Recipe

Bonjour!!!
Yes, this is the proper way to start this blog-post as today I'm going to share with you one of my signature recipes.... the Madeleines Cookies, those delicious French little pastries, or soft cookies; I love them so much and they are a big success every time I have guests.
I made them this morning and I took pictures to give you a step-by-step photo-recipe. Are you ready?

Here it is!


Recipe for 12 cookies

INGREDIENTS
  • 2 EGGS
  • 2 tbsp SUGAR
  • 2 tbsp POWDER SUGAR
  • 1 tsp VANILLA EXTRACT
  • 1 tsp ALMOND EXTRACT
  • 1/4 cup SELF-RAISING FLOUR
  • 1/4 cup regular FLOUR
  • 6 tbsp BUTTER
  • 1 tbsp HOT WATER
  • extra powder sugar for dusting


Mix eggs, both sugars and extracts until smooth.

 
Add both flours, sifted together, and keep mixing.

 Melt the butter and slowly add it to the batter, also the water.

 
Pour the batter into a Madeleines` pan. After having carefully buttered and floured it.

 
Cook in preheated oven at 400 F degrees for 10 minutes.


You will see that a little dome will form on top of the cookie...that's a perfect result! They are so good with a cup of tea or coffee. The only indispensable tool is the Madeleines' pan, if you don't have one you can find it here:


Let me know how they come out!!!

xoxo,


This recipe is my own and as an amazon affiliate, I will receive a small commission if you click and buy from my links. Thank you!

Wednesday, April 12, 2017

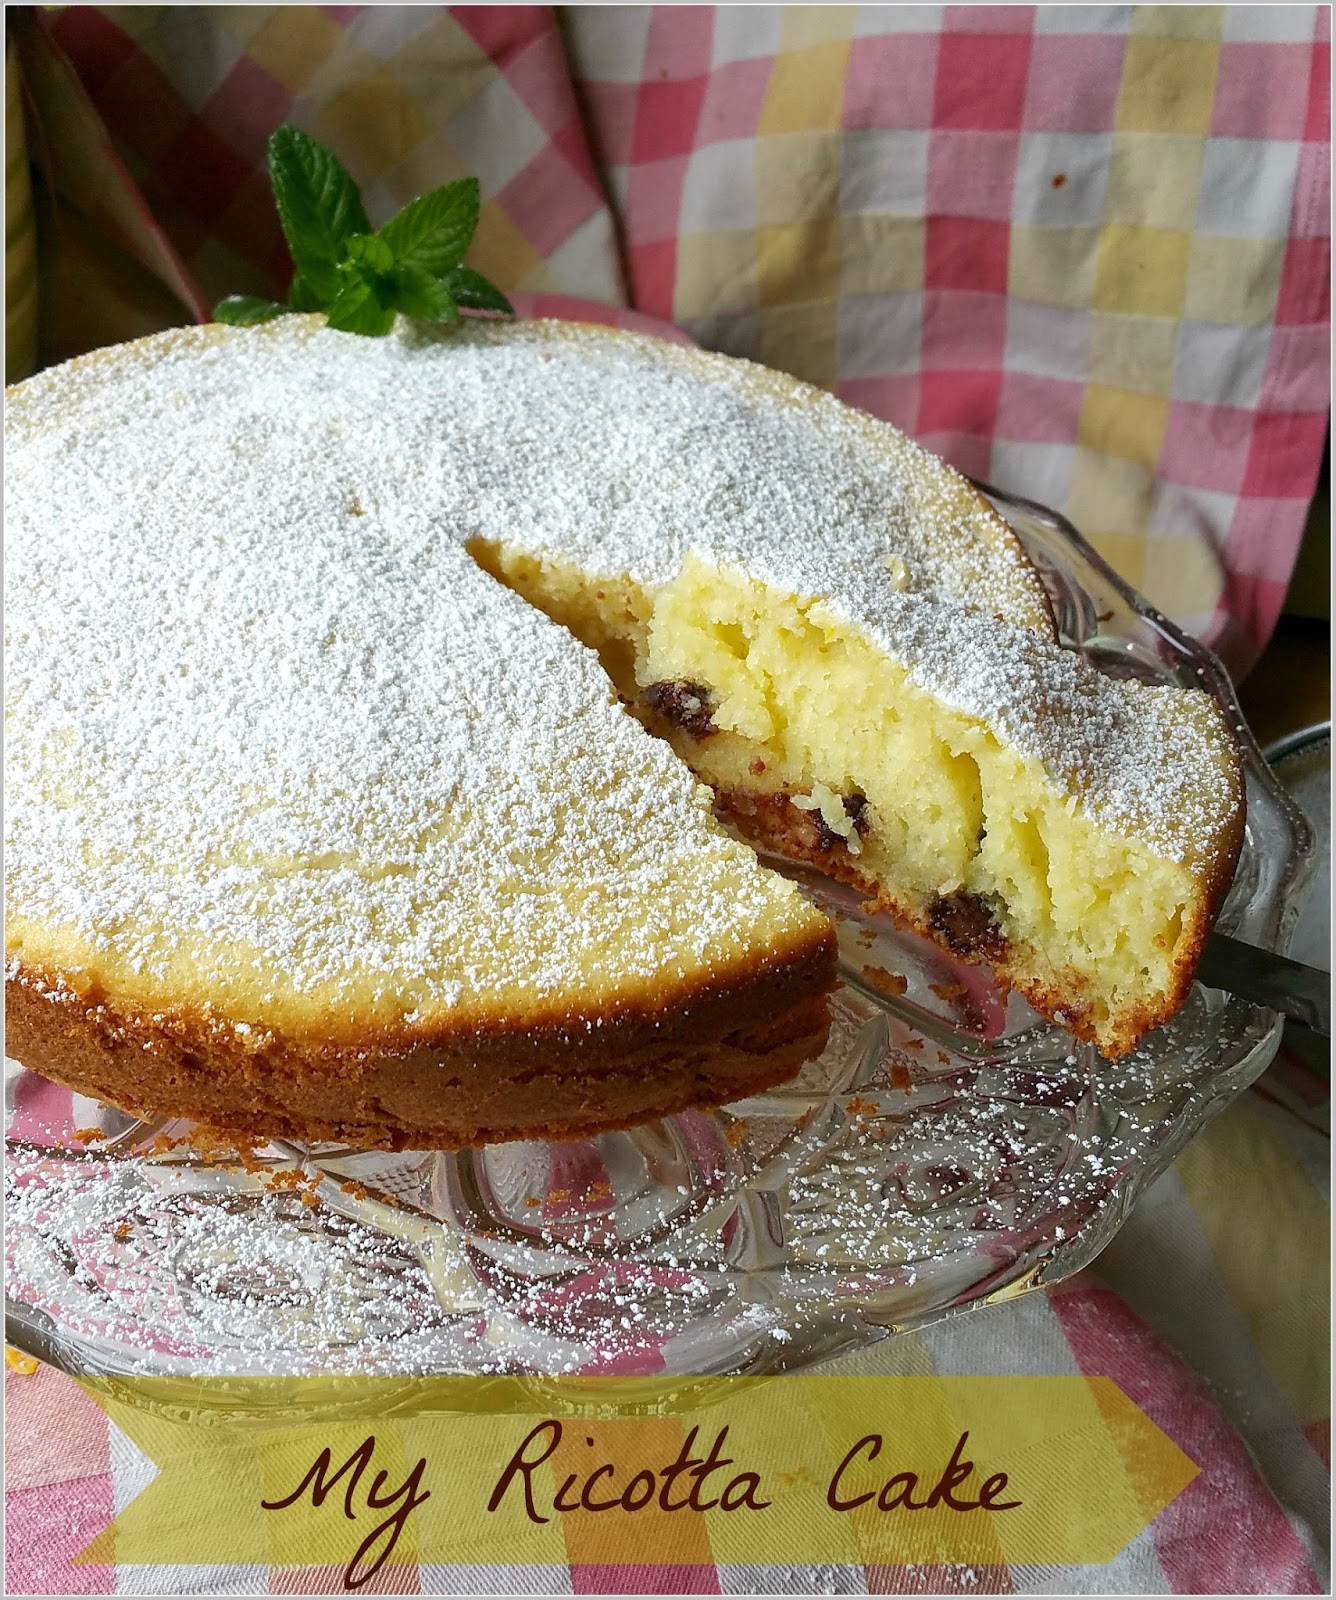
My Ricotta Cake

Goodmorning!!
it's Spring Break and my children are all home. They are still all asleep, I was able to wake-up early to sip my big cup of caffe'-latte while reading the news and catching-up on my instagram feed, I love checking everybody's pictures and new posts, it gives me a lot of inspiration.
So, in this time of peace and calm I'll take advantage to share with you a delicious cake I made a few days ago. In Italy it's a classic: the Ricotta Cake. I used to make it all the time, then somehow I forgot about it, maybe because here in the States I never eat ricotta, as it's very different from the one I was used to eat. I saw a recipe online and I suddenly remembered the taste and how soft and tender that cake was. I had to make it!! I adapted the recipe to my taste and memories.
Here it is.

MY RICOTTA CAKE


Ingredients:

  • 3 EGGS (whites and yolks separated)
  • 1 cup of SUGAR
  • 7 tbsp of BUTTER (melted)
  • 1 cup of RICOTTA
  • 1 cup of FLOUR
  • 1 tsp of BAKING POWDER
  • LEMON ZEST (1 lemon)
  • 1 cup of CHOCOLATE CHIPS (semi-sweet)
  • POWDER SUGAR for dusting
  1. Beat the egg yolks with the sugar until fluffy and pale yellow. 
  2. Add the ricotta and keep mixing until smooth and the melted butter.
  3. Sift-in the flour together with the baking powder.
  4. Beat the egg whites until firm and gently add them to the batter, mixing softly, making sure they don't get flat.
  5. Gently mix-in also the lemon zest and at last the chocolate chips.
  6. Grease and flour dust a cake pan (9 inches), add the batter and put in preheated oven at 350 F degrees for 30-35 minutes. (Always insert a tooth-pick in the cake to check if it's well cooked. If it comes out clean, it means the cake is done). 
  7. Dust your cake with powder sugar and serve.
It's a very simple recipe and you'll see how good it is!! Everyone will love it! My children were a little skeptical at first but they ate it all! I hope you'll enjoy it as well.

xoxo,


Tuesday, April 14, 2015

Rustico ~ a delicious recipe from my town.


Hello Hello!!!
I have been asked to write the recipe of this delicious treat. I have published it on my Recipe Blog... but it's in Italian {here is the LINK, if you are interested}. I'm translating here the recipe in English for all those who would like to try it without using google translate... because who knows what would come out!!! :))
If like me, you use the frozen puff-pastry it will be very simple. Here we go:

INGREDIENTS
  • 2 sheets of frozen PUFF-PASTRY
Bechamelle Sauce
  • 2 cups of warm MILK
  • half stick of BUTTER
  • 3 tbsp of FLOUR
  • SALT
  • PEPPER
extra ingredients for the filling
  • a can of PEELED TOMATOES
  • 1 cup of FRESH MOZZARELLA
  • 1 EGG
  1. Thaw the puff-pastry.
  2. Prepare the bechamelle sauce:melt the butter in a small pan on medium heat. When melted add the flour. Mix well, always stirring. Add the milk very slowly, always stirring, until it becomes a cream. Add salt and pepper. 
  3. Every rustico is formed by 2 discs of puff-pastry (diameter of 5-6 inches), you can also make it square... any shape you like.
  4. Put a dollop of bechamelle in the center of the first disc, add 3 chunks of mozzarella and one or two well squeezed can tomatoes. Add a pinch of salt.
  5. Beat the egg to use it as a "glue" to attach the two puff-pastry discs together. Brush the edges of the first disc and close the rustico covering the filling with the second disc, pressing well the edges to form kind of a dome on top.
  6. Brush the whole surface with the rest of the egg-wash.
  7. Use the rest of the puff-pastry and ingredients to make 2 or 3 more rusticos.
  8. Bake in pre-heated oven at 400 degrees for 30 minutes.

Well, that's all!!! I hope you like it... and if you make it... please let me know!!!!! :)
 
xoxo,

Monday, May 13, 2013

Homemade Cheese?... Yes please!!

Helloooo!!
Happy Monday to you all!!!
If you have followed me for a while, you know how much I love handmade, not only in crafts, but especially in the kitchen. I always cook from scratch, it's something that is part of my culture {you would never see me use a box to make a cake}. I know that many times it's easier and faster to use stuff already prepared, if they are available... why not? But I just love to make my own food.
My husband, even though he is not Italian, likes to make food from scratch as well {he has worked many years in a delicious Italian Restaurant called Parisi in Denver, CO} and I recently spoke about a product that I found on Etsy that I love so much: a kit to make your own fresh cheese!!! How cool is that? I bought it for him and when we received it super fast... we already made a batch of our on fresh Mozzarella... one of my favorite cheeses in the whole world. :)
Here's a few pictures of the product and the making of the cheese. The whole kit comes with a precise description of how to make the cheese, it was easy and it came out super good!!!


 our fresh Mozz!!!

You can make your own as well!! Go check out this awesome shop:

UrbanCheeseCraft

There's not only Mozzarella, but a big variety of fresh cheese!
You should try it....;)

xoxo,


Wednesday, August 8, 2012

On an evening in... Florence!

My vacation in Denver is almost over.. soon we will head back to California. Which place do I like the most? I love both for different reasons... :) What I like about Denver is mostly the beautiful memories that I have and all the people that I love. I try to go see and spend time with everybody! Sometimes it's hard and not possible to do. This vacation I had a great time.. and every time I come to Denver I HAVE to go to eat at Parisi's.. the Italian Restaurant (100% Italian!!) located in the beautiful North-Denver, where I lived for a few years. My husband used to work there {I worked there too!} and we are still very good friends with the owner, a very nice Italian guy from Florence 
{where I was born}. 
The food is fantastic, it's like going to any restaurant in Italy.. even the atmosphere, the quality and the beauty of the environment. I really enjoy going there. Last week we had dinner at Parisi's with our friends. I took some pictures thinking I would blog about it.. of course!!!

..love Italian water... ♥

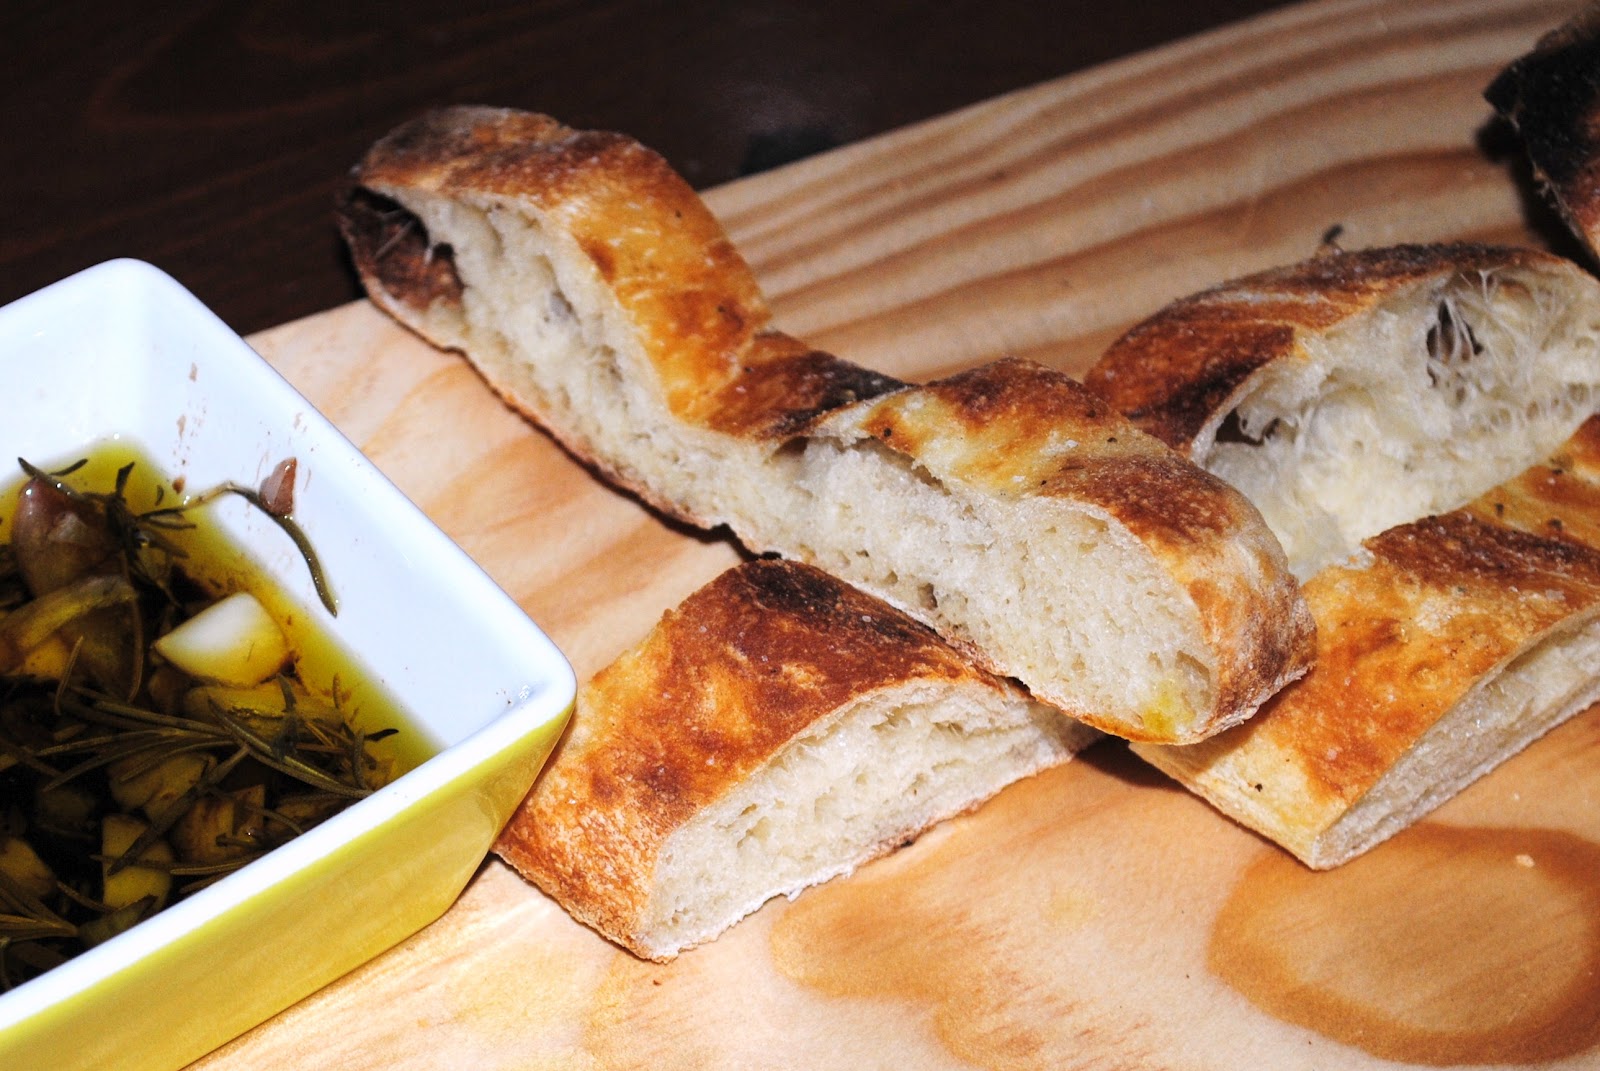
Schiacciata Bread dipped in flavorful oil... mmmmh

Our happy table!! :)


Friday, May 25, 2012

aaahhh... Food!!

Food... I could never hide my love for food... I love to cook and love to eat! :) But before showing you the delicious dinner I prepared for my family tonight, I want to introduce to you {for those who don't know her} a great polimer clay artist: Valentina from Minibonbons on Etsy. She specializes in miniature food {mostly Italian.. he he}. I admire her creativity and the precision she uses in making her little tiny creations.. so perfect and beautiful!! See for yourselves!! I'll share with you some of my favorite :


French Baguette earrings

Blueberry & Lemon Cake and Cookies

 Sicilian Cassata

Aren't they adorable?? I'm a big fan of Valentina!! I hope you all go visit her shop.. there's much more to see! ♥

And now I'll show you what I ate tonight.. La Quiche Lorraine!!  {I think Valentina should make a mini quiche!!}.. here's what is left of mine.. even the children loved it!


It was very easy to make, I want to share the recipe with you: Enjoy!!!

Quiche Lorraine

Crust:
1¼ cups all-purpose flour
½ teaspoon salt
6 tablespoons unsalted butter, cold, cut into small pieces
3 tablespoons vegetable shortening, cold, cut into small pieces
3 to 4 tablespoons ice water
Filling:
4 ounces thick-sliced bacon, cooked and crumbled (I used Italian pancetta)
3 eggs
1½ cups heavy cream
4 ounces Swiss cheese, shredded (about 1 cup shredded)
Salt and pepper

1. Make the Crust: Whisk together the flour and salt in a medium bowl. Cut the butter and the shortening into the flour mixture with a pastry blender until the mixture resembles coarse crumbs. Using a rubber spatula, stir in just enough water to bind. Gather into a ball, wrap in plastic wrap, and refrigerate at least 20 minutes.

2. Preheat the oven to 375 degrees F.

3. On a lightly floured surface, roll out the dough into a 12-inch circle, about 1/8-inch thick. Carefully transfer the dough to a 9-inch tart pan. Gently fit the dough into the tart pan and trim any excess off the edge by rolling the rolling pin over top of the pan. Prick the bottom all over with a fork. Line with parchment paper and fill the tart pan with pie weights. Bake for 12 minutes. Remove the parchment paper and pie weights and continue baking until the crust is golden brown, 5 to 10 more minutes.

4. Make the Filling: While the crust bakes prepare the filling. In a medium bowl, whisk together the eggs, heavy cream, eggs, nutmeg, salt, and pepper. When the crust comes out of the oven, immediately sprinkle the bacon over the bottom crust, and then slowly pour the egg mixture over the bacon to fill the crust. Bake until the quiche is puffed and brown, about 30 minutes. Serve warm or at room temperature. Cover leftovers and store in the refrigerator.


{recipe taken from The Brown Eyed Baker newsletter: www.browneyedbaker.com}

Wednesday, February 15, 2012

Date Night ♥

I hope everybody had a great Valentine's Day... I know I did!! Instead of going to a fancy restaurant that we cannot afford, my husband {being a great cook} decided to cook for me last night!! We had a "Date-Night" at home.
I had the kids eat their dinner while watching a movie {it never happens, so it was special for them}.. I have made them a pizza shaped as a heart!! It came out really good.. ;)


And while they were eating and having fun... my husband cooked a delicious meal for the 2 of us! 
  • Bruschetta (pron. BROO-SKE-TTA)
  • N.Y strip Steak with Porcini Mushroom sauce
  • Creamy Polenta
  • Sauté Spinach
  • Strawberry pastry with strawberry ice-cream
  • Glass of Spumante ♥
I enjoyed every bite!! :)